


How to Winterize Your Garden (the Real-Life Version)
Oct 16, 2026
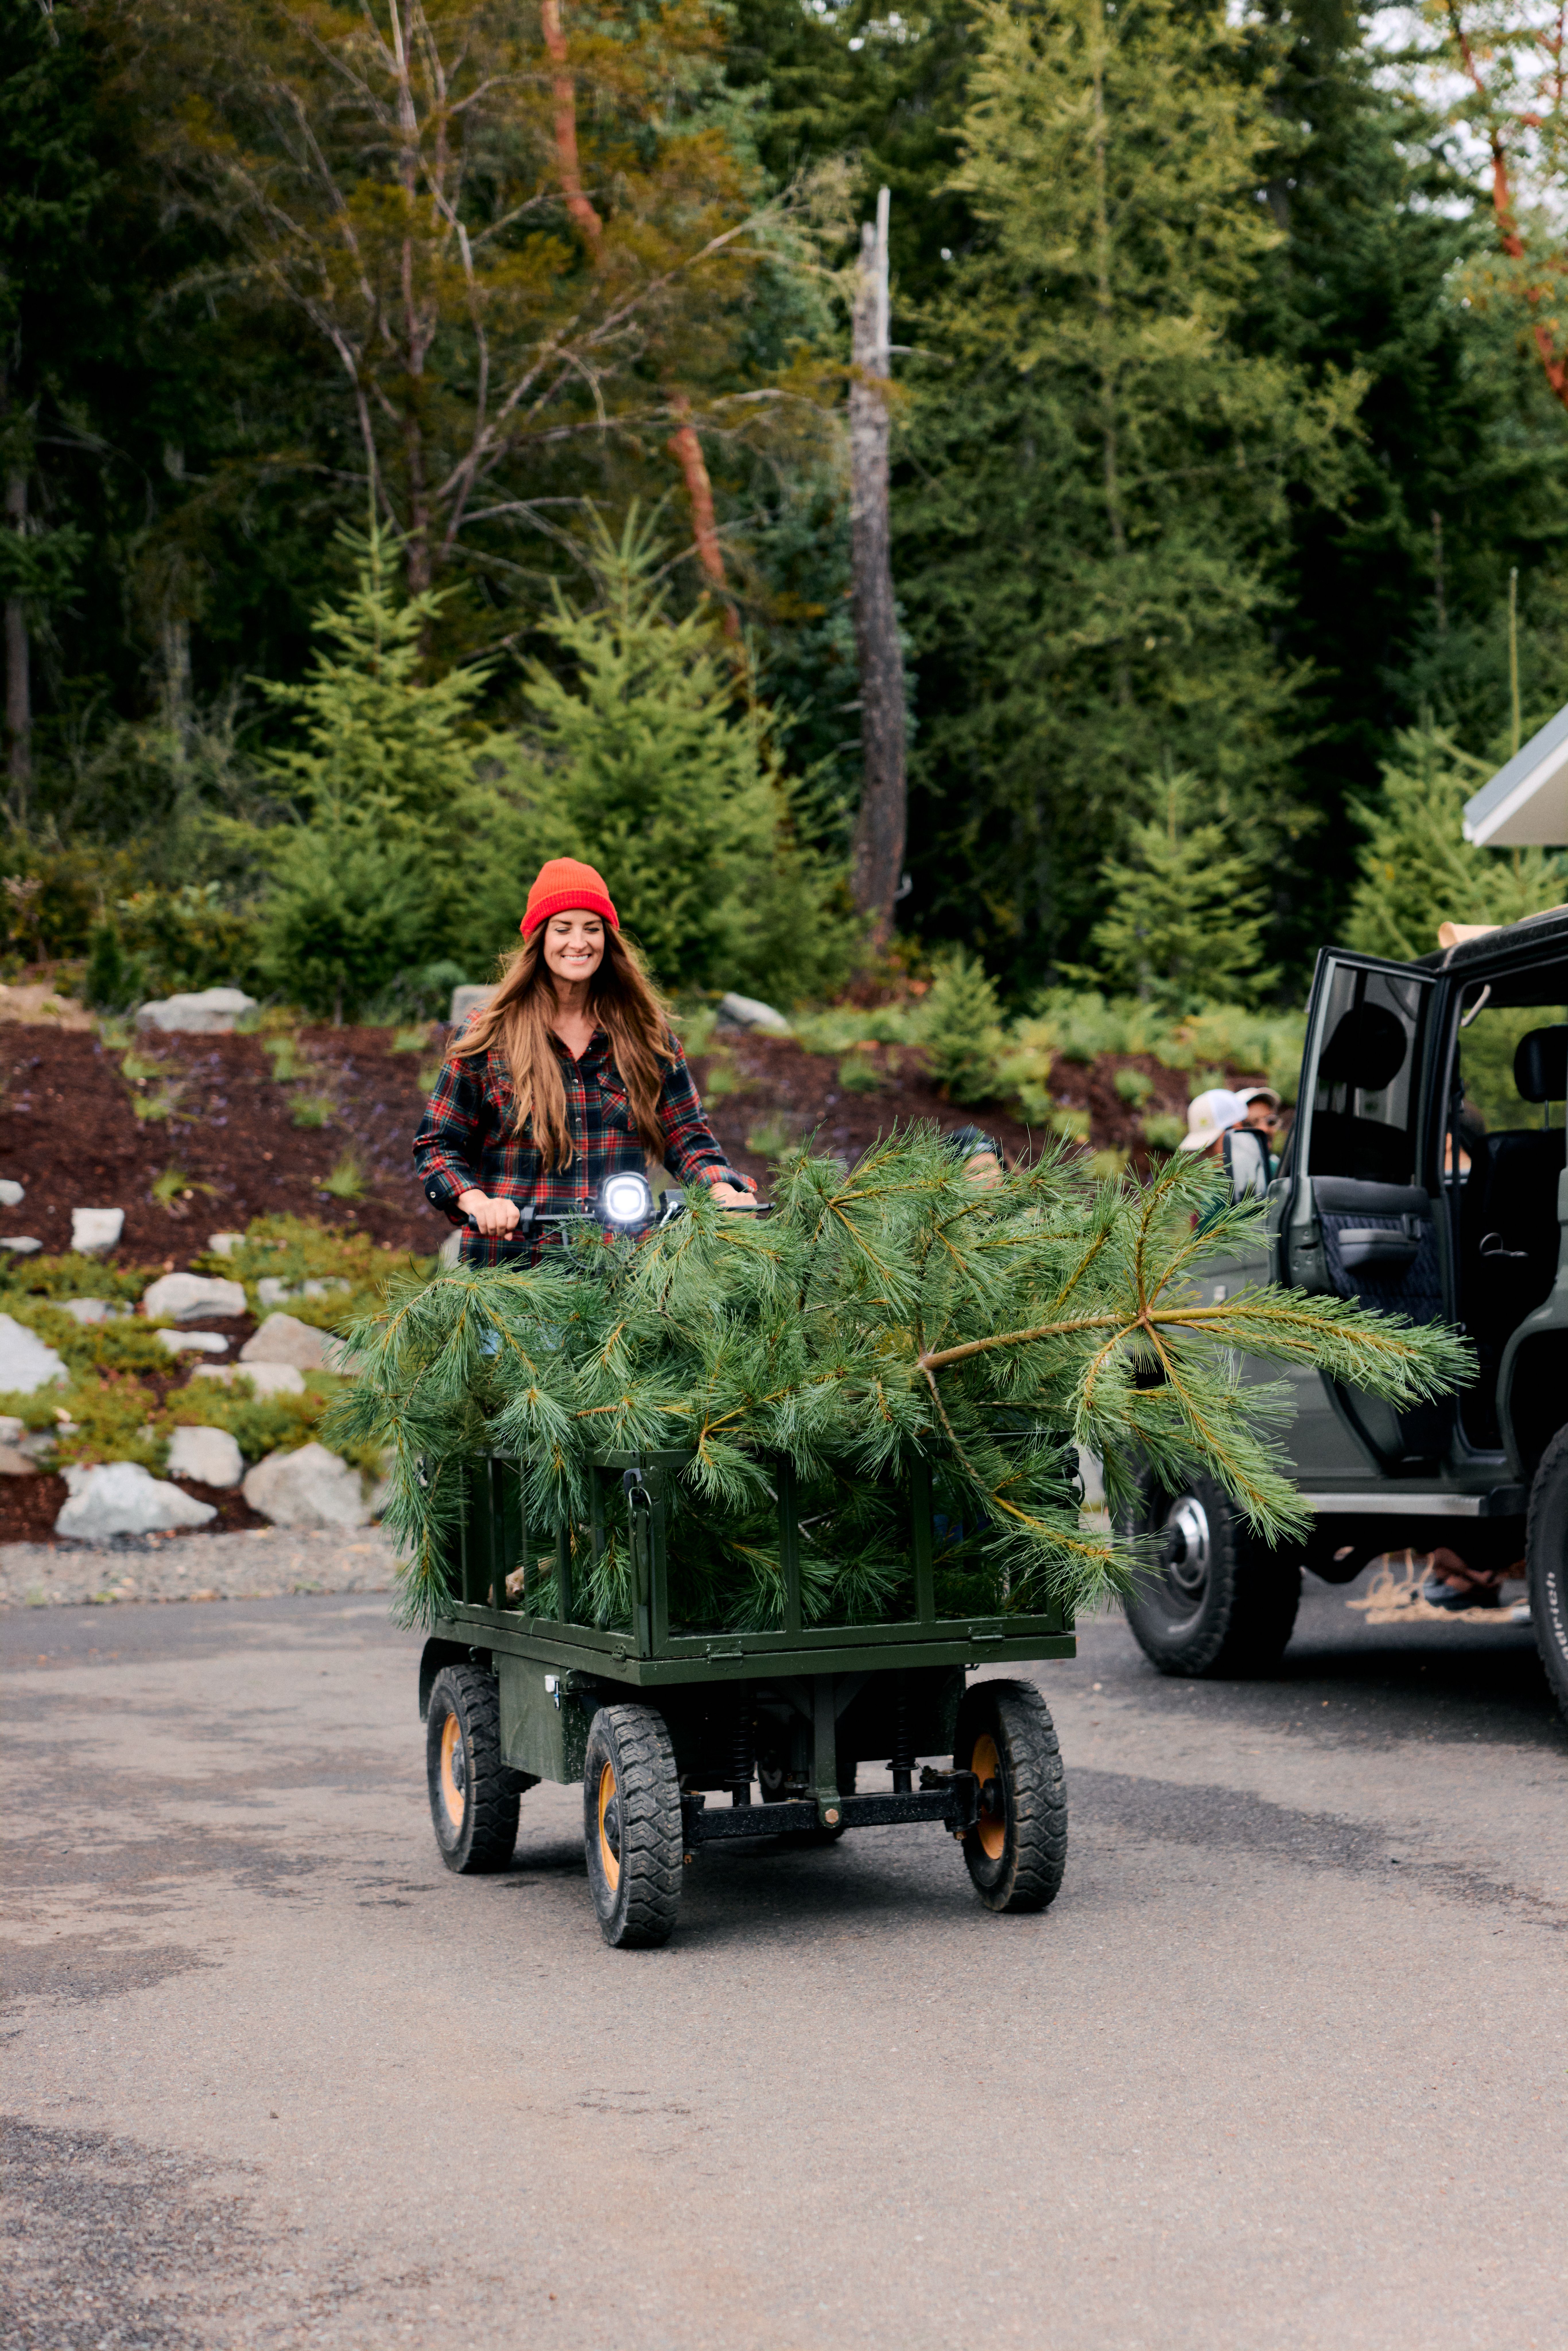
In short: To winterize your garden, stop fertilizing six to eight weeks before your first frost, clean up anything diseased, leave healthy stems and seed heads standing for birds and beneficial insects, mulch your beds, keep watering until steady rain or frozen ground takes over, move pots and tender plants somewhere protected, drain your irrigation and hoses, and clean and store your tools. Then plant some bulbs.
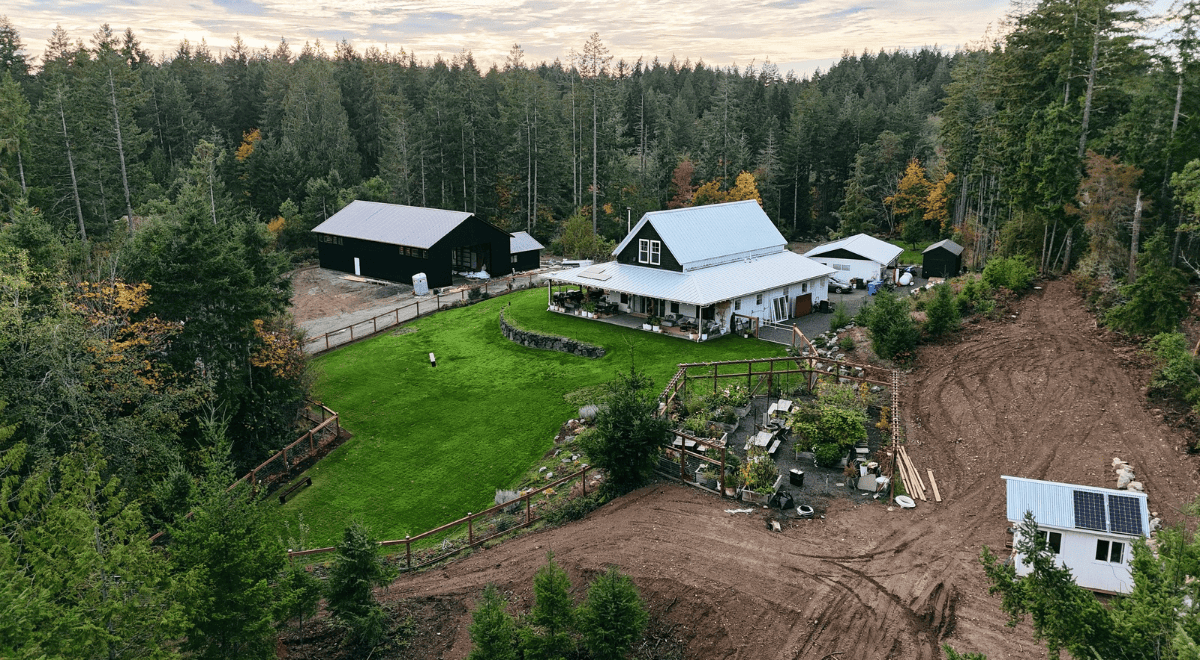
Is it just me, or did fall show up all at once this year? We’re right in the throes of winterizing everything at the Farmquarters, our headquarters and small flower farm on 25 acres outside Gig Harbor, Washington, so I’m literally in the middle of making our list so thought I’d share it with you all in case it’s helpful!
Having this much space to grow is still pretty new to us, so every season feels like equal parts gardening and one very large ongoing experiment, in the best way possible. We’re growing everything from garden roses, dahlias, peonies, and eucalyptus to herbs and a few vegetables, plus whatever else I become convinced we absolutely need after spending too much time looking at plants online. For us, winterizing is really a combination of putting the farm to bed, getting a head start on spring, and trying very hard to tolerate the fact that everything is going to look considerably less pretty for a long while. That last part may be the hardest one for me.
So here’s my list, the real one, including the parts I’m good at, the parts I’m still working on, and the things I learned the hard (and usually expensive!) way so you don’t have to. Grab a coffee (your second one is perfectly fine, too), and let’s get to it.
My garden winterizing checklist
- Know your growing zone and your average first frost date.
- Stop fertilizing six to eight weeks before your first frost.
- Clean up anything diseased, and leave the healthy stuff standing.
- Mulch your beds, and then mulch some more.
- Keep watering until the rain or the freeze takes over.
- Move pots and tender plants somewhere protected (ours are going in the greenhouse, but a garage works too).
- Shut down and drain your irrigation, hoses, and spigots.
- Don’t leave good soil bare.
- Divide crowded perennials.
- Reset the shed: tools, cushions, and anything the wind could take.
- Store your seeds, write your notes, and label dormant plants.
- Plant bulbs.
Here’s how each one actually goes for us.
When to winterize your garden: a simple timeline
The best time to winterize your garden depends on your average first frost date, not the calendar. Start about six to eight weeks before your first frost and finish the big jobs around your first hard freeze.
- 6 to 8 weeks before your first frost: Stop fertilizing, stop deadheading your roses, divide crowded perennials, and start planting bulbs.
- Around your first frost: Cut back peonies, move pots and tender plants inside, cover tender plants on cold nights, cut the last flowers for a vase, and pull frost-killed annuals.
- Before the first hard freeze: Drain irrigation and hoses, cover spigots, tie down climbing roses, store cushions and tools, and finish planting bulbs.
- Once the ground starts to freeze (colder zones): Add your heavy winter mulch and mound soil or compost over rose crowns.
- Late winter: Prune your roses (we do ours around February) and cut back the perennials you left standing.
Here in zone 8b at the Farmquarters, that usually means September through November, with the peonies getting cut back in early November. If you’re somewhere colder, everything shifts earlier, and if you’re somewhere warmer, it may slide into December.
1. Know your zone (and don’t try to outsmart Mother Nature)
The first step in winterizing a garden is knowing your USDA hardiness zone and your average first frost date. Your zone tells you how cold your winters get and which plants can handle them, and your first frost date starts the clock on almost everything else on this list.
One thing I’ve learned (of course, the hard way) is that garden advice is never one-size-fits-all, even though we all really want it to be. What someone can plant in November in Georgia is very different from what we can plant in November in Washington, and I didn’t understand for a long time how important it was to know your zone before spending a ton of time and money trying to grow something that just does not want to live where you live.
Case in point: I bought two very expensive bougainvillea trees because I somehow convinced myself I could make them work in Washington. I could not, and Mother Nature won that one very quickly. So look up your zone by zip code on the USDA Plant Hardiness Zone Map, look up your average first frost date, and maybe don’t assume you’re going to outsmart her. I’ve tried, and it gets expensive quickly. Your local nursery is a gold mine here too, because they usually know exactly what works where you are.
For reference, we’re in zone 8b at the Farmquarters, which means mild-ish, very wet winters. So a lot of what I’ll share is about the wet as much as the cold, and I’ll call out where colder zones need to do a little more.
2. Stop fertilizing (even though it feels like love)
Stop fertilizing your garden beds six to eight weeks before your average first frost. Fertilizer, especially nitrogen, tells plants to push out soft new growth, and that growth doesn’t have time to toughen up before freezing temperatures arrive, so it gets damaged or dies over winter.
For years my instinct every fall was to feed everything, because it felt like feeding was what you did to take care of all the things you spent so much time planting and tending. It turns out it isn’t. And the wild part is that when a plant dies over winter, you usually blame the winter, when it was really the fertilizer you put down too late. I tend to kill plants with too much love rather than too little, so this one took me a while.
Peonies humbled me even harder. A peony sets next year’s flower buds at her crown by late summer, based on the energy she banked back in June, so she’s quite the planner, huh? Nothing you sprinkle on her in October changes a single thing about next spring, and late nitrogen just gives you soft, floppy foliage right when botrytis (a gray mold that loves peonies) is looking for it.
What I do instead is a lot less than some people will tell you. Compost and mulch do more for a bed than anything else, so that’s what goes down every fall without fail. Around our hydrangeas, a layer of compost at the base gives the soil a gentler boost without pushing new growth. And if our roses had a rough summer and needed something, I’d reach for a potassium-based fertilizer, which helps toughen up the canes without encouraging new growth, and then I’d leave them alone. The real feeding happens in spring, once the plants are ready to use it.
3. Clean up what’s diseased, and leave the rest standing
Remove anything diseased, like leaves with powdery mildew, black spot, or rust, and get it out of the garden entirely, but leave healthy stems, seed heads, and spent perennials standing through winter. Seed heads feed birds, old stems give beneficial insects a place to overwinter, and many perennials do better when their foliage dies back naturally and they can store energy for next year.
This is the one I’m trying hardest to get better at, and it’s super difficult for me. There are flowers everywhere right now that went from stunning to eyesores, plus seed heads and so many perennials that are better off being left alone for a while. Intellectually, I get it, but visually, every time I walk past them I just want to grab the nearest clippers and give everything a trim.
I used to think everything needed to be cut back and perfectly tidy before winter. Not only did I about kill myself work-wise, it wasn’t even what was best for the plants, or the critters. So now I leave quite a bit standing. Our cosmos seed heads stay on for the birds, who happily pick at them, and I love that the plants are still doing something useful even after the flowers are finished. I leave the dried flowers on our hydrangeas too, because I think they’re really pretty in fall, when their muted, crispy petals look kind of vintage, and even prettier when they catch a little frost. It also keeps me from getting carried away with the pruners and accidentally removing next spring’s buds, which I’ve done once and won’t do again!
What I will clean up is anything that looks diseased. We have some powdery mildew on our roses right now, so we’re treating that and removing the affected foliage instead of assuming winter will take care of it for us. Diseased leaves don’t go in our compost either, because I want them as far away from our plants as possible, so bag them or put them in your yard waste bin instead. I also pull any weeds I absolutely do not want to see again next spring, ideally before they drop their seeds.
And if you get a nice fall afternoon, it’s a great time to get after the weeds so your spring self can thank you later. Up here our worst offenders are blackberry, scotch broom, creeping Charlie, and Herb Robert (or Stinky Bob, which is way more fun to say), and the biggest thing is getting them out by the roots before they drop their seeds. Scotch broom seeds can sit in the soil for decades waiting for their chance, and Stinky Bob can fling its seeds up to 20 feet, so I promise it’s worth the effort. If something has already gone fluffy and seedy, bag it instead of tossing it into your compost.
What about fallen leaves? Healthy fallen leaves are free mulch. Shred them first (running the mower over them works great) so they don’t mat into a soggy blanket, then spread them over your beds, where they’ll protect the soil and break down by spring.
The one big exception to my leave-it-alone rule is peonies. We cut back every single peony plant, over 37,000 of them between the Farmquarters and our peony farm in Central Oregon, and don’t leave any spent foliage or stems behind so it doesn’t encourage botrytis, a mold that can destroy a crop. More on that below
What to cut back in fall, and what to leave standing
- Peonies: cut back after frost, to 1 to 2 inches. Old foliage can carry botrytis into spring.
- Anything diseased: remove now, and don’t compost it. Keeps powdery mildew, black spot, and rust from overwintering in your beds.
- Frost-killed annuals (cosmos, zinnias, marigolds): pull after frost. They’re done for the year; compost the healthy ones. Coneflowers, rudbeckia, and sunflowers: leave the seed heads. Food for the birds all winter.
- Hydrangeas: leave them. The dried flowers are pretty, and old-wood types have already set next year’s buds. Hardy garden mums: leave the stems until spring. The old stems help protect the crown through winter.
- Roses: clean up only. Save the real pruning for late winter. Lilacs and other spring bloomers: leave them. They flower on old wood, so prune right after they bloom instead. Ornamental grasses: leave them. Winter structure, and shelter for beneficial insects.
- Woody herbs (rosemary, sage, thyme, lavender): leave them. Cutting them back late can leave them open to cold damage.
4. Mulch, and then mulch some more
Mulch is the most useful thing you can do to winterize a garden. A 2- to 4-inch layer of shredded bark, wood chips, shredded leaves, or compost insulates roots, suppresses weeds, protects the soil from heavy winter rain, and eventually breaks down to add organic matter back into the ground.
We bring in what feels like an absurd amount every fall and use it just about everywhere at the Farmquarters, on our garden roses, peonies, and perennial beds. A few things I’ve learned along the way:
- Keep it a few inches away from stems, trunks, and crowns. Mulch piled right up against a plant holds moisture there and invites rot (and critters).
- In colder zones, wait for the cold. Add your heavy winter layer after a hard frost or once the ground starts to freeze. The goal of winter mulch in a cold climate is to keep frozen ground frozen, so plants don’t get heaved out of the soil by freeze-thaw cycles.
- Fall is the perfect time to top up. The beds are emptier, the weeds are slowing down, and you’re not trying to work around a hundred tender seedlings.
I also mulch over our dahlias, because I don’t dig them up for winter. Which is entering a very judgy zone even admitting to that, especially in the Pacific Northwest, where it rains for months on end and you can end up with very soggy tubers. I’m very aware that you’re supposed to dig them, divide them, label them, store them perfectly, and feel very accomplished about the whole thing. But by the end of the growing season, we’re still running a flower company, getting the Farmquarters ready for winter, planting thousands of bulbs, and trying to finish at least 500 more things before the weather turns. By November, I’ve usually run completely out of time, so I give myself some grace and leave our dahlias in the ground under a very generous blanket of mulch.
That is definitely climate and drainage dependent though. If your ground freezes hard or stays extremely wet, lifting them is the safer route, and I wrote up how to dig and store dahlia tubers the right way. Last year about 75% of ours came back and I replaced the rest, so not adding “dig up every dahlia” to the fall list is a gift I’m very happy to give myself. Then in spring I treat heavily for slugs, which are a much bigger threat to our dahlias than winter ever is!
5. Keep watering until the rain (or the freeze) takes over
Keep watering through fall whenever the soil is dry, especially anything you planted this year, until steady rain arrives or the ground freezes. Plants that go into winter well hydrated handle the cold much better.
I think once we’re all drinking pumpkin spice lattes, we switch into fall mode and assume Mother Nature has taken over. But until the rains truly start, I keep an eye on anything we planted recently and make sure it gets enough water. A slow, deep soak at the base, ideally in the morning, beats a little bit every day, and you can ease up as the weather cools.
Our hydrangeas really do love hydration (it’s even in their name!), and many of ours are still young, so we water them right up until the rain starts here. The same goes for our roses. We usually get plenty of fall rain in Washington, but if it doesn’t show up, they still need water. And if you planted trees or evergreens this year (we put in 28 mature maples along the drive last fall, plus what feels like an endless number of Leyland cypresses this year), give them a good deep soak before the ground freezes, since evergreens keep losing moisture through their leaves all winter long.
6. Move pots and tender plants somewhere protected
Potted plants need more winter protection than plants in the ground because their roots are exposed on every side of the pot. Move them to a cold but protected spot like an unheated garage, shed, or enclosed porch, and check on them occasionally so the soil doesn’t dry out completely.
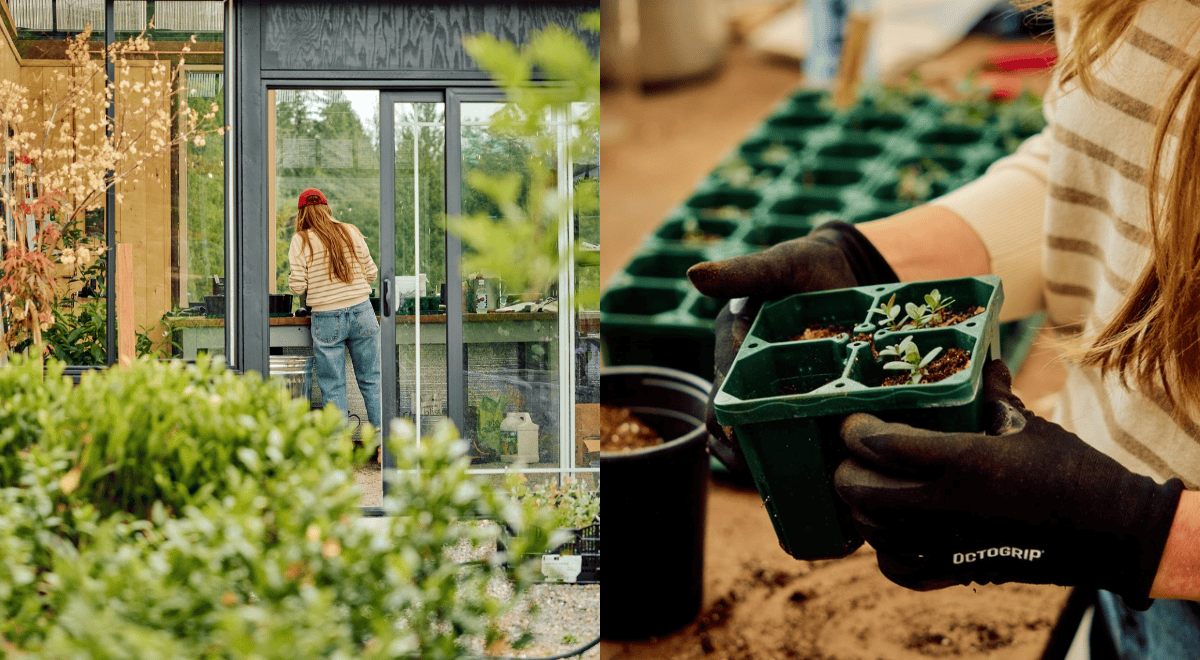
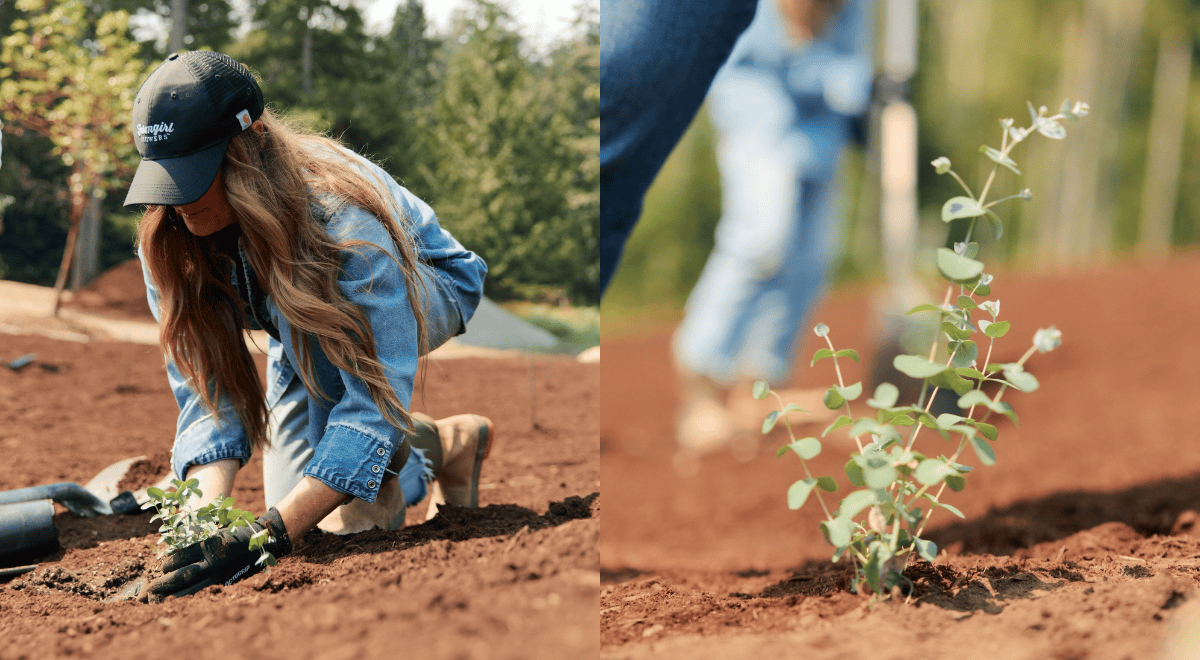
Then there’s the great fall migration into the greenhouse, as I like to call it. We bring in all the pots and anything tender we don’t want exposed to the worst of the winter weather, and pot up anything we’re keeping in the greenhouse so it has enough room to keep growing. This year that includes about 300 eucalyptus plants. We use a ton of eucalyptus at Farmgirl, so apparently the logical next step was growing a small (or large!) forest of it ourselves. Our potted roses and our chocolate cosmos, which need winter protection unlike regular cosmos, go in there too.
You don’t need a greenhouse for this, I promise. A garage or shed works perfectly well, especially if it gets some natural light. A few other things worth knowing:
Don’t bring dormant outdoor plants into a warm house. They still need the cold to go dormant; you’re just protecting the pots from repeated hard freezes.
Can’t move them? Group the pots together in a sheltered spot, like against the house, and wrap or insulate the containers.
Empty the pots you’re not overwintering. Terracotta and ceramic pots full of wet soil can crack when they freeze and thaw.
Bring houseplants in before nights drop into the 50s, if they spent the summer outside.
I’ve definitely learned the hard way that “I’ll move those tomorrow” is a dangerous game once frost season starts, so this is yet another place where procrastination can get you in trouble.
How to protect plants from frost for a night or two: For a cold snap before regular frosts arrive, cover tender plants with frost cloth (or an old sheet) in the evening, letting it drape all the way to the ground to trap the soil’s warmth, then uncover them in the morning. Skip plastic touching the leaves, since it can actually make the damage worse. Once regular frosts arrive, I cut the last flowers and bring them inside for a vase, which is a pretty great consolation prize.
7. Shut down irrigation, hoses, and spigots
Before the first hard freeze, shut off and drain your irrigation, disconnect and drain your hoses, and cover outdoor spigots. Water left sitting in lines, hoses, and pipes expands when it freezes and can crack them.
Fall is also when we deal with the less romantic parts of having a farm, and irrigation is a big one. Once we’re done relying on it, we inspect everything, shut it down, and drain it so we don’t discover cracked lines and expensive surprises in spring. Hoses get drained and stored, and spigots get covered (learned that one the hard way!). None of these things are very glamorous, but neither is dealing with a burst pipe in January, which we literally had to do a couple years ago.
If you have an in-ground sprinkler system, it needs to be drained or blown out with compressed air before your first hard freeze, and most people hire a pro for that part. And make sure your hoses are actually disconnected from the spigot, not just turned off, since a hose left attached can trap water that freezes back into the pipe. No one is putting this part on Instagram, but unfortunately it’s every bit as important as planting all the pretty things.
8. Don’t leave good soil bare
In the raised bed garden, I try not to leave good soil completely bare if we can help it. I use a thick layer of mulch on ours, but you can use compost too, or if you’re really ambitious, a cover crop like crimson clover or winter rye that you turn under in spring.
Fall is also the time for planting things like garlic, shallots, certain onions, fava beans, and some overwintering vegetables, depending on your growing zone. We’re also planting more herbs into our landscape beds, like sage, thyme, and cold-hardy rosemary. I love plants that can do multiple jobs. They’re beautiful, they smell incredible, and we can cut from them for arrangements or dinner. We’re careful with drainage there because with Mediterranean herbs, our winter issue isn’t always the cold as much as the wet, so we pick hardier varieties like ‘Arp’ rosemary.
9. Divide crowded perennials (October is perfect for it)
Fall is a great time to divide many perennials, since the cooler weather is easier on the plants and the still-warm soil helps new roots get established before winter. Aim to finish at least four to six weeks before your ground freezes.
If you’re dividing plants in the fall (and kudos if you are!), here’s a few that want to be divided in the fall:
- Peonies. They’ve stored their yearly supply of energy in their roots by fall, so dividing now avoids disturbing their spring growth. Keep three to five eyes (the little pink and white buds) and several healthy roots on each piece. And I probably say this too often, definitely to our crew when we’re planting: the biggest mistake is planting them too deeply. The eyes should be only one to two inches below the soil surface.
- Hostas. My mom’s favorite plant! If yours are crowding each other or developing a bare center, that’s your sign. Older clumps can be surprisingly tough, so a sharp blade helps. Keep several healthy shoots and plenty of roots on each division, discard any dead center, and replant at the original depth, just further apart.
- Siberian iris. Divide once its summer growth has slowed, but I wouldn’t wait much later than October. The root masses can be really dense, so try two garden forks back to back to pry them apart. Keep the big pieces from the outer edges, discard the middle, and replant at the same depth.
- Garden phlox. Divide once it’s done flowering, and give the new plants room to grow into their full size, which is something I’m horrible at and then have to move them once they get too crowded. Learn from my mistake! Plant them in full sun, where they do best.
- Daylilies. We don’t grow these at the Farmquarters, but if you do, keep two or three fans of leaves with roots attached in each division, trim the leaves to five or six inches, and plant with the crown about an inch below the soil surface. They’re super forgiving, but water them well until winter.
Fall is such an underrated time to plant in general, too. The weather is cooler, the soil is still warm, and plants can put their energy into roots instead of just trying to survive the heat. We’re planting about 500 more peonies and more Japanese anemones this fall, and it’s a great time for trees and larger shrubs as well.
10. Reset the shed (tools, cushions, and anything the wind could take)
Winterizing is also when I try to reset our garden shed. Tools, plant supports, pots, trellises, and all the other things that have migrated around the farm get gathered up and organized. Or at least that’s the goal. I would be lying if I claimed we’ve never found a forgotten shovel outside in February.
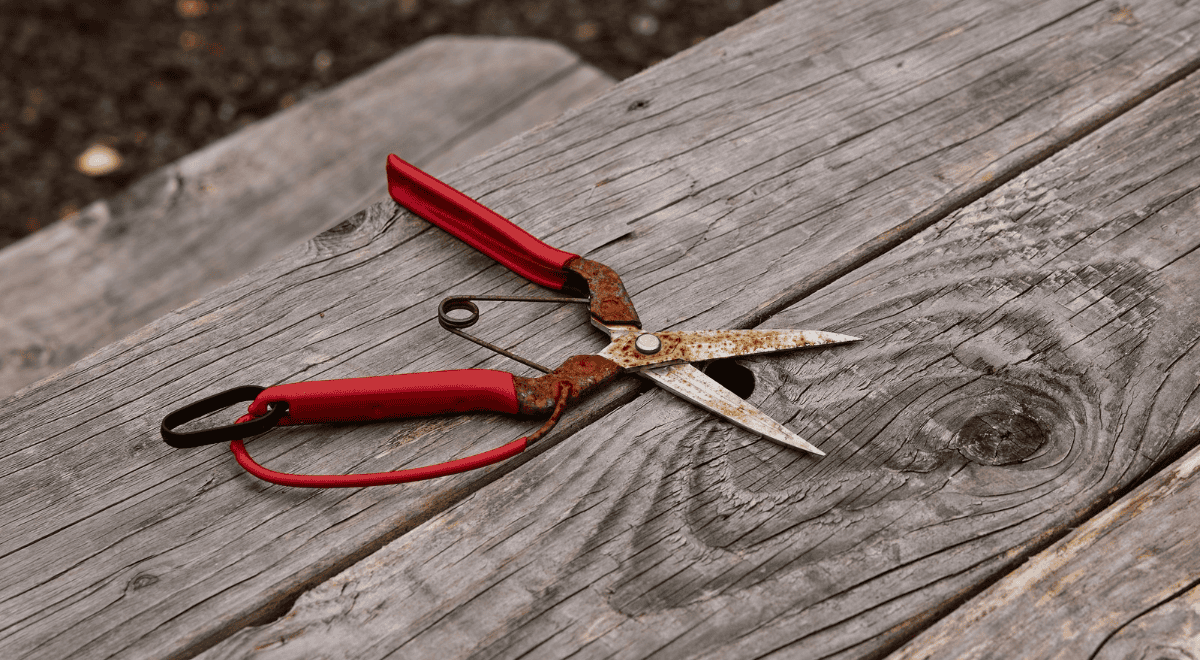
Giving your tools a little attention before you forget about them for five months is the one I’m really bad at, so I’m saying this as much to myself as anyone else! Clean the dirt and sap off your pruners and shovels, wipe the blades with rubbing alcohol so you don’t carry any disease into spring, sharpen what needs sharpening, and give metal parts a light coat of oil before storing everything somewhere dry. My Chikamasa clippers get the most love, because I have pairs stashed all over the Farmquarters and I’d like to actually find them again in spring. I feel like Martha Stewart herself when all my tools are clean and organized. I’m absolutely terrible about putting something down wherever I finish using it and assuming I’ll somehow just know where it is, so that feeling is rare and I savor it!
Then deal with the outdoor furniture and loose odds and ends before the first big storm does it for you. Last year I didn’t do this soon enough, and I’m not going to let that happen again. Cleaning and storing your cushions and covering the furniture that needs it saves you so much heartache, not to mention money, because we all know the cushion covers somehow cost as much as the furniture they’re on. Also look for anything that might not make it through the winter, like pots and lightweight tables, and move it into a garage or shed. Every year there’s at least one thing I look at and think, that’ll probably be fine, and every year I’m reminded that hope is not an actual winterization strategy.
11. Store seeds, write notes, and label everything (for future you)
I organize and store our seeds somewhere cool, dry, and dark for next year. Write the year on each packet, close it up tight, and keep the packets in an airtight container with a silica gel packet to absorb any lingering moisture. I used to think our garden shed was the perfect spot, but this year our seeds are in plastic totes with silica gel in our walk-in cooler, which stays around 42 degrees.
Not all seeds keep equally well, either. Delphinium, larkspur, and phlox seeds are shorter-lived and best used sooner, while zinnias, cosmos, and nasturtiums can stay good for several years if they’re stored right. I planted zinnias this year from last year’s seed order and had almost 100% success! If you’re not sure about an older packet, try the damp paper towel test in late winter: roll 10 to 20 seeds up in a damp paper towel, tuck it into a loosely closed plastic bag somewhere warm, and see how many sprout. If most of them do, just sow a little more heavily, and if only two or three come up, I’d usually start fresh.
While the season is still fresh in my mind, I also make notes (and take photos) of what worked, what didn’t, what I want more of, and what I never need to grow again. Hello, hanging amaranth and China asters! I’ve learned not to trust myself when I say, “I’ll remember that in the spring.” I absolutely will not.
The same goes for labeling dormant plants. I’m horrible at this and constantly plant new flowers right on top of ones that are dormant from the previous year. It’s actually a running joke at the Farmquarters because I’ve done it so often. So this year (I promise!), I’m labeling every dormant perennial before I forget what was there.
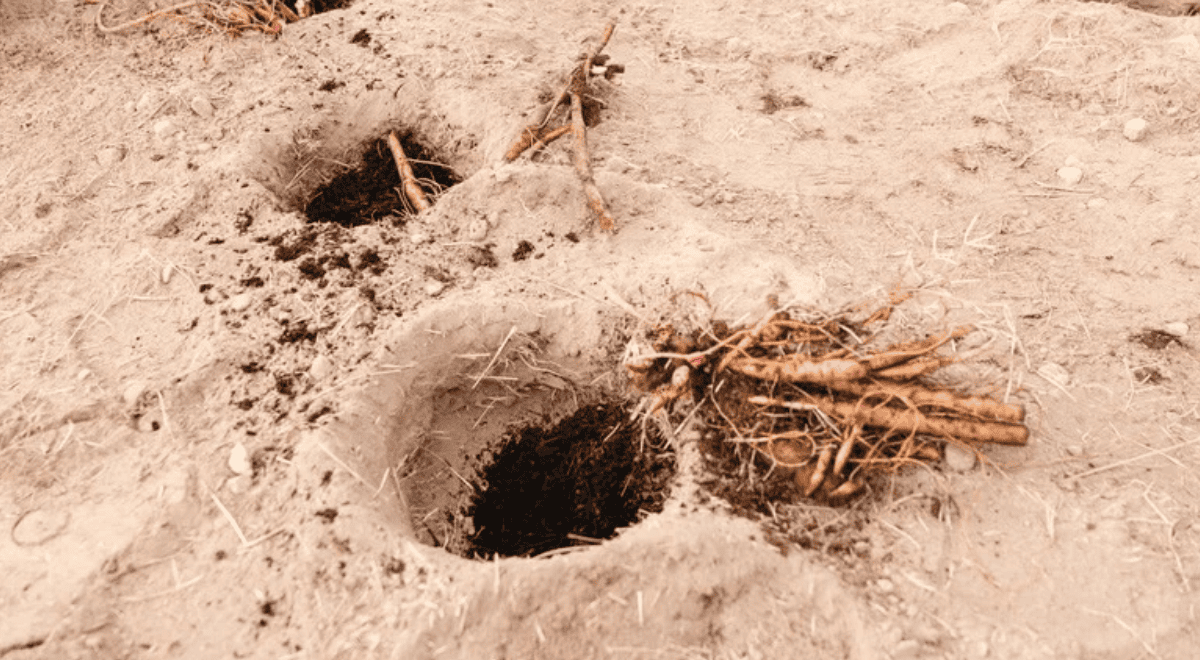
12. Plant bulbs (my favorite fall “chore”)
And then, of course, there’s my absolute favorite part of winterizing: planting bulbs. This fall we’re planting about 10,000 of them around the Farmquarters, including thousands of tulips plus so many daffodils, hyacinths, and drumstick alliums. And yes, I know that sounds excessive. It probably is. But restraint around flowers has never been my strong suit.
Daffodils and hyacinths are some of the easiest bulbs you can plant. You plant them once in the fall and they come back and multiply year after year (more quickly for the daffodils, slower for the hyacinths), and maybe the best part is that the deer usually leave them alone, which we can’t say for most flowers! Plant them in a sunny or partly sunny spot with well-draining soil, pointed end up, about six inches deep. And try planting them “bouquet style,” grouped together in complementary colors (I love peaches, pinks, and butter yellow together best!), so they come up looking like a Farmgirl bouquet already designed. If tulips are on your list too, here’s when to plant tulip bulbs for your zone.
And daffodils now come in so many specialty varieties that will blow your mind, way beyond the sunny yellow trumpet most of us picture, including some with literal swirls in the center. A few of my favorites we’re planting this year are Apricot Whirl, Replete, Delnashaugh, Pom Pom Rose, and My Story. Hyacinths are one of the few flowers that still have an amazing scent, too, so tuck some in with your tulips and daffodils and you’ll have fragrance in the garden (and in your vase) come spring.
Bulbs might be my favorite kind of delayed gratification. By spring, I’ll mostly have forgotten that we trudged outside on cold, rainy fall days and dug what felt like endless trenches, until the little green sprouts start popping through the soil. After months and months of gray Pacific Northwest skies, those first flowers bring us so much joy right when we need it most. In fall I wonder why we planted so many, but by spring I’ll wonder why we didn’t plant more.
Plan for something pretty in winter, too
One thing I found out the hard way is that a garden still needs to look good when nothing is blooming. Evergreen hedges, evergreen climbers, and shrubs with good structure carry the garden through the drabber months, and we also plant hellebores at the Farmquarters so there’s something beautiful happening in winter. I can’t tell you how much joy the hellebores bring me after months of rain! If you’re planting this fall anyway, tuck a few in somewhere you’ll actually see them from inside the house.
How to winterize specific plants
How to winterize roses
To winterize roses, stop fertilizing and deadheading in early fall, remove any diseased leaves, keep watering deeply at the base until the rains come, tie down loose climbing canes, and add mulch around the base after a hard frost. Save the real pruning for late winter or early spring. In colder zones, also mound soil or compost over the crown and graft union.
We have at least 400 David Austin garden roses at the Farmquarters (I really need to do an official count!), including around 100 climbers, so I spend a lot of time thinking about how to get them through winter! Stopping the deadheading is one of the hardest things for me, because I really want to keep everything looking pretty, but letting the last flowers fade (and form rose hips) helps signal the plant that it’s time to go dormant. It’s really better if you can stand to leave them alone.
The same goes for pruning. I totally understand the urge to clean everything up before winter, but if you can practice restraint, skip the major fall prune. We remove anything dead, diseased, or broken now and save the real pruning for around February.
Different roses need different care. Hardy, own-root shrub roses are usually pretty low-maintenance and may only need cleanup, water, and mulch. Grafted or less-hardy roses need more protection around the graft union, especially in colder parts of the country (here in zone 8b we don’t have to mound ours). Climbers need their long canes tied down so they don’t get whipped around or broken in winter wind, but I wouldn’t prune them heavily, because those canes carry so many of next year’s flowers. After waiting all season for them to grow, the last thing I want is to lose them in a storm. We’re building about 80 big trellises for ours this winter, so don’t fret if your supports aren’t ready yet; just make sure the canes are secure enough not to get thrashed in the weather.
When to cut back peonies
Cut back herbaceous peonies in fall, after the first frost has blackened or yellowed the foliage, which is usually early November for us. Cut the stems down to about one to two inches above the soil and remove all of the foliage from the bed. Don’t fertilize them in fall, and don’t compost the foliage if it shows any sign of disease.
Peonies are the flower 92% of our customers say is their favorite, so we take them very seriously around here. If you’re planting new ones this fall, remember they’ll take about three years to really take off, so patience is a virtue here. (Tree peonies are woody and are the exception, so don’t cut those to the ground.) For everything else, here’s our full guide on how to grow peonies.
How to winterize hydrangeas
We’re growing about 15 different kinds of hydrangeas at the Farmquarters, from oakleaf (my favorite) to panicle, bigleaf, smooth, and a few climbers. To winterize them, skip the fall fertilizer, add a layer of compost around the base, keep watering until the rains start, and leave the dried flowers on. Most importantly, know whether yours blooms on old wood or new wood before you prune anything. Oakleaf and bigleaf hydrangeas set next year’s buds on old wood, so cutting them back in fall removes next summer’s flowers, while panicle and smooth hydrangeas bloom on new wood and can be pruned in late winter. I almost killed all of our oakleaf hydrangeas not knowing this one!
Cosmos, marigolds, and other annuals
Let your annuals keep going for as long as they’re still flowering. Our cosmos (we especially love the Cupcakes, Double Click, and Apricotta varieties) look a little worse for wear right now, but we’re still loving the color they bring. A little deadheading helps you squeeze out a few more flowers: snip the faded flowers back to a “joint,” as I call it, at the first healthy set of leaves or a small side shoot, and leave any new buds. We’re having a major love affair with French marigolds this year, and ours will keep going until the frost gets them too, as long as we keep up with the deadheading. You literally get another flower for just about every one you pinch off! Skip feeding them this late. If you want seeds for next year, leave a few heads alone several weeks before your first frost and collect them once they’re brown and dry. And once frost finishes them off, chop up the healthy plants for your compost pile, since they’re annuals and you’ll start fresh next spring.
Fall garden mistakes I’ve made (so you don’t have to hopefully!)
I’ve learned almost everything on this list the hard way, so here’s the short version of my mistakes, in case it saves you a little heartache (and money):
- Feeding everything in the fall. It felt like love, but it pushed out soft new growth that the first freeze took right back.
- Giving old-wood shrubs a fall haircut. I almost killed all of our oakleaf hydrangeas this way, and I found out about lilacs the hard way too. Check whether a shrub blooms on old wood or new wood before you prune it.
- Planting peonies too deep. Many of the roots from my first attempt never came up. The eyes should be only one to two inches below the soil.
- Trying to outsmart my zone. I bought two very expensive bougainvillea trees for Washington, and Mother Nature won that one very quickly.
- Cleaning up everything. I about killed myself trying to make it all tidy, and it wasn’t even what was best for the plants or the birds.
- Saying “I’ll move those pots tomorrow.” Once frost season starts, tomorrow can be too late.
- Skipping the spigot covers. I learned that one the hard way!
- Not labeling dormant plants. I’ve planted new flowers right on top of sleeping ones so many times it’s a running joke at the Farmquarters.
- Assuming the patio furniture would be fine. It wasn’t, and those cushion covers are not cheap.
If you’re overwhelmed, start here
If you feel overwhelmed by winterizing (which is where I am right now, so this is as much for myself as for you!), give yourself grace and don’t think you need to tackle everything at once, or even at all. If I only got to five things, these would be the ones:
- Protect and improve the soil with mulch or compost.
- Get the irrigation and hoses ready for freezing weather.
- Protect the containers and tender plants you’d be heartbroken to lose.
- Remove anything diseased.
- Clean and store your tools.
And then learn which plants actually benefit from being left alone until spring, which is way more than you’d think.
My biggest tip is to do a little at a time instead of saving it all for one miserable week. Time is always the thing we run out of, so I give myself 30 minutes a day to cross one thing off the list, and I find I get through so much more that way than when I try to crush the whole thing in a couple of days. Otherwise you blink and suddenly you’re digging dahlias, draining and dragging hoses, moving 40 pots, cleaning gutters, and trying to figure out where on earth you’re going to put the lawn mower, all at the exact same time. And that never really ends well.
You really don’t have to make the garden perfectly tidy, or make it look social media worthy. Do the minimum you need to do, call that a win, and congratulate yourself for getting it done. That’s something I’m still learning myself, but I’m definitely doing it this year!
How much winterizing does your garden actually need?
The answer depends on where you live, how much you’re growing, and what winter tends to throw at you. If you’ve got a couple of pots on a porch, you probably don’t need my 25-acre checklist. Lucky you! Here’s where I’d focus first.
- Mild, rainy winters (like our Pacific Northwest zone 8b garden): Drainage, cleaning up diseased foliage, protecting tender roots, and avoiding soggy pots and tubers.
- Cold Midwest or Northeast winters: Insulating vulnerable roots after the ground begins freezing, protecting rose crowns where needed, and draining water systems before a hard freeze.
- Mild Southern winters: Following your actual local frost forecast, continuing to water dry soil, and avoiding unnecessary heavy insulation.
- Container gardens: Sheltering or insulating pots and checking moisture so roots neither freeze hard nor dry out completely.
- Small raised-bed gardens: Protecting exposed soil with compost, mulch, or an appropriate cover crop, and removing diseased plant material.
None of these is a guarantee, of course. Your own soil, microclimate, and plant varieties matter more than the state printed on your mailing address.
A few things we’ve learned growing flowers on a larger scale
Leaving dahlias in the ground is a calculated risk, not a universal rule. We left many of ours under a generous blanket of mulch and about 75% came back last year. That’s one season, on our specific property, with our drainage and weather. If your soil holds water or freezes hard, dig and store them instead.
A few hundred roses make you rethink the urge to prune everything in fall. With at least 400 David Austin roses here, including roughly 100 climbers, we focus first on disease cleanup and securing long canes against winter wind. Major pruning can wait until late winter.
Peony cleanup is worth doing thoroughly. Across our Farmquarters and Central Oregon growing operations, we’re caring for more than 37,000 peony plants. Removing old herbaceous foliage helps us manage the risk of botrytis. It’s one winter chore I don’t cut corners on.
These are observations from our own farms, rather than controlled trials, but they’re the lessons I keep coming back to when I’m deciding what deserves my limited fall hours.
The part I love almost as much as the flowers
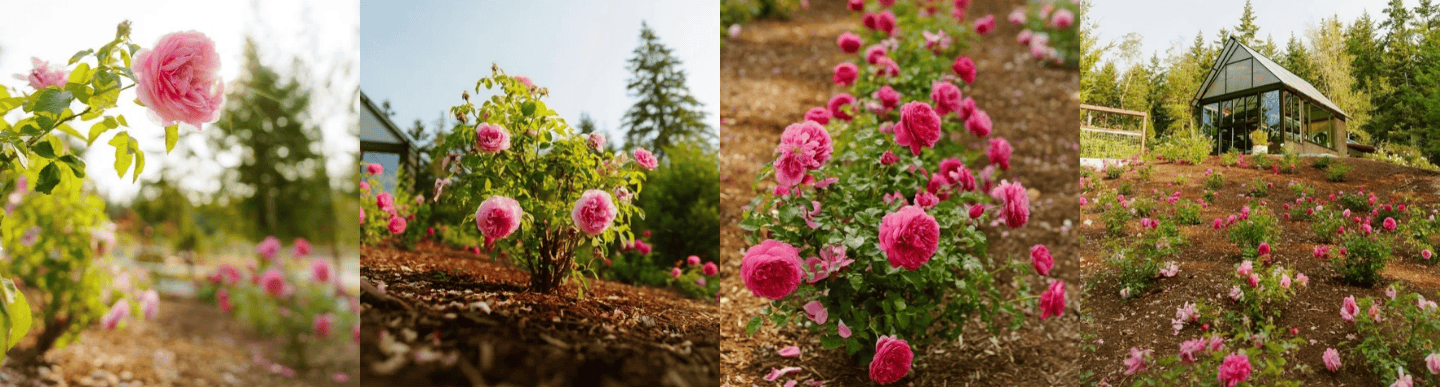
One of my favorite things about the Farmquarters is getting to see the entire life cycle of the flowers, instead of only meeting them once they’re cut and headed into a Farmgirl bouquet. You get the beautiful part, of course, but you also get the mud, the dormant stems, the empty beds, the big flops you had so much hope for (here’s looking at you again, China asters), the things you planted in completely the wrong place and had to move, and all of the work that happens long before something is pretty enough to cut. I think I love that part almost as much.
So before you head inside for winter, plant some bulbs, even if it’s only ten of them. I promise in a few months you’ll be SO glad you did! And if your garden is looking as sad as mine will by Thanksgiving, you know where to find us ;)
xx, Christina
About the author
Christina Stembel is the founder and CEO of Farmgirl Flowers, which she started in her San Francisco apartment in 2010. These days, alongside running the company, she grows garden roses, dahlias, peonies, eucalyptus, and more at Farmgirl’s 25-acre Farmquarters outside Gig Harbor, Washington. She’s especially interested in growing flowers you can enjoy both in the garden and in a vase, with practical advice for people whose love of gardening occasionally exceeds their available time. Between tending this small flower farm and Farmgirl’s peony farm in Central Oregon, she’s had plenty of chances to learn what works, what doesn’t, and which mistakes she’d really prefer not to make twice.

Frequently asked questions
When should you winterize your garden?
Start winterizing your garden in early fall, about six to eight weeks before your average first frost, by stopping fertilizer and easing up on deadheading. Do the bigger jobs, like cutting back peonies, adding a heavy layer of mulch, and draining irrigation, around the first hard frost. In mild climates like the Pacific Northwest, that usually stretches from September into November.
Should you cut back perennials in the fall?
Cut back perennials in the fall only if they’re diseased or prone to disease, like peonies. Leave healthy perennials, stems, and seed heads standing through winter: they feed birds, shelter beneficial insects, and help the plant store energy for spring. Cut them back in late winter or early spring instead, before new growth starts.
When should you cut back peonies?
Cut back herbaceous peonies in the fall, after the first frost has blackened or yellowed the foliage, usually October or November depending on your zone. Cut the stems to one to two inches above the soil and remove all the foliage from the bed to help prevent botrytis. Don’t cut back tree peonies, which are woody.
Should you fertilize your garden in the fall?
Don’t fertilize garden beds in the fall. Stop feeding perennials, shrubs, and roses six to eight weeks before your first frost, because nitrogen encourages tender new growth that is easily damaged by freezing temperatures. Add a layer of compost and mulch instead, and save fertilizing for spring, when plants are actively growing.
How do you protect plants from frost?
To protect plants from an occasional frost, cover them in the evening with frost cloth or an old sheet that drapes all the way to the ground to trap warmth from the soil, then remove it the next morning. Water dry soil beforehand, since moist soil holds more heat, and move potted plants somewhere sheltered. Avoid letting plastic touch the leaves.
How do you winterize roses?
To winterize roses, stop fertilizing and deadheading in early fall, remove diseased leaves, water deeply until the rains come, tie down climbing canes, and add mulch around the base after a hard frost. Save major pruning for late winter. In cold climates, also mound soil or compost over the crown and graft union, and move potted roses to an unheated garage or shed.
What should you not cut back in the fall?
Don’t cut back hydrangeas, roses, lilacs, ornamental grasses, woody herbs like rosemary and lavender, or perennials with seed heads like coneflowers and rudbeckia in the fall. Old-wood shrubs have already set next year’s buds, woody herbs can be damaged by cold after a late cut, and seed heads feed birds through winter. Prune these in late winter or right after they bloom.
What are the most common fall garden mistakes?
The most common fall garden mistakes are fertilizing too late, pruning shrubs that bloom on old wood, cutting back every perennial, leaving tender plants and pots out too long, and forgetting to drain hoses and irrigation before a hard freeze. Planting peony roots too deeply and putting diseased leaves in the compost are two more that cause problems the following spring.
Should you leave leaves in your garden over winter?
Yes, healthy fallen leaves make excellent free mulch for garden beds. Shred them first so they don’t mat down and smother plants, then spread them over your beds, keeping them a few inches away from plant crowns. Remove and throw away leaves from diseased plants, like roses with black spot, rather than leaving them or composting them.
Can I winterize my garden after the first frost?
Yes, absolutely. A first light frost isn’t the end of your chance to get things done. Start with protecting tender plants, emptying or moving vulnerable pots, and draining hoses before a hard freeze. Then tackle diseased foliage and mulch according to your climate. Don’t let the fact that you missed the ideal date keep you from doing the things that still matter.
What happens if I don’t winterize my garden?
Some hardy plants will be perfectly fine, and in fact many benefit from being left standing. The risks are mostly avoidable ones: tender pots can freeze, hoses and irrigation lines can crack, and diseased foliage can carry problems into spring. Your garden doesn’t need a makeover before winter. It just needs a little thoughtful triage.
What’s the easiest way to winterize a garden in one weekend?
If you only have a weekend, tackle five things in this order: drain hoses and protect spigots; move tender containers; remove obviously diseased foliage; mulch vulnerable soil and roots appropriately; and clean and store tools. If there’s still time, plant a few bulbs. I will always vote for a few bulbs.
« Newer
|
Older »
View all posts